How to migrate WordPress site to new host is a question many website owners ask when their current hosting no longer meets their needs. Maybe your site feels slow. Maybe support takes too long to reply. Or maybe you simply found a better deal. Whatever the reason, moving your website to a new host can feel scary at first. But with the right steps and careful planning, the process becomes simple and safe.
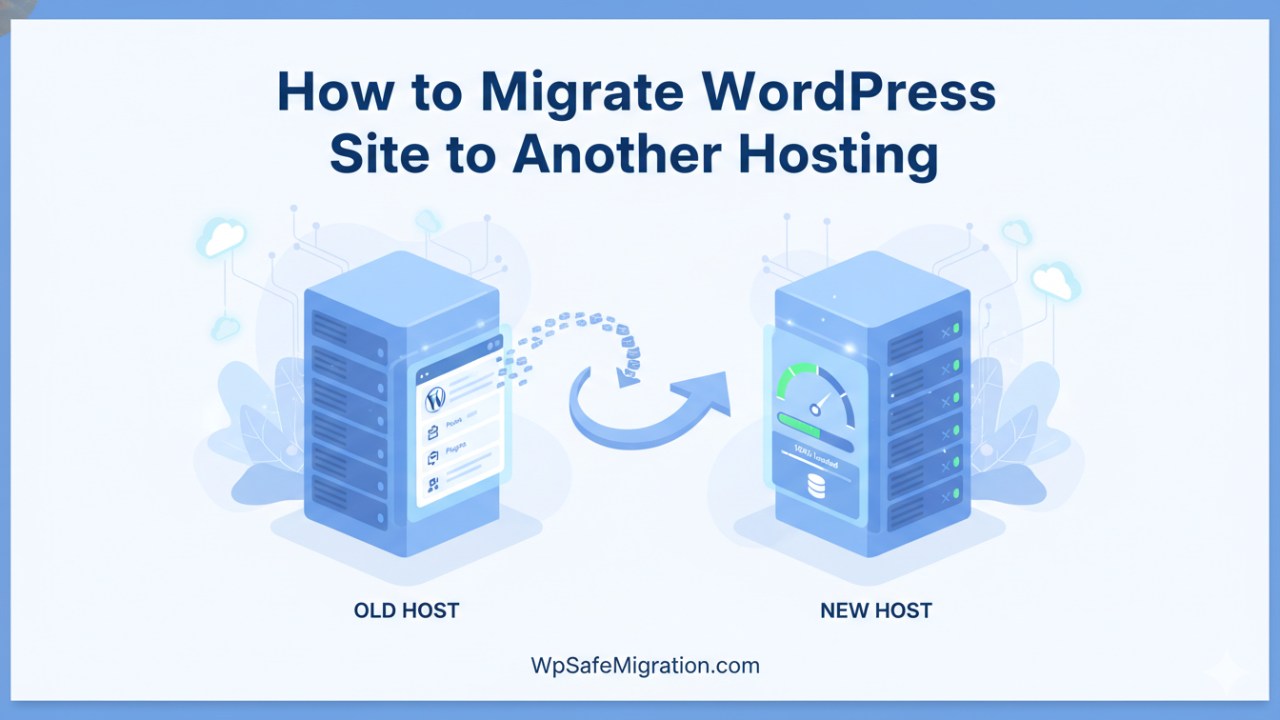
Migrating a WordPress site means moving all your website files, images, themes, plugins, and database from one hosting company to another. Think of it like moving to a new house. You don’t leave your furniture behind. You pack everything carefully, transport it, and set it up again in the new place. Your website works the same way. Every file and every piece of data must be moved properly so your visitors do not notice any problem.
There are many good reasons to change your hosting provider. One common reason is speed. If your website loads slowly, visitors may leave before even reading your content. A faster host can improve user experience and even help your search rankings. Another reason is reliability. If your site often goes down, it hurts your business and trust. Some people move their site to get better security features. Others want more storage space, better customer support, or lower monthly costs. No matter the reason, moving to a new host can be a smart decision when done correctly.
Before you start the migration process, preparation is very important. Skipping preparation is like moving houses without packing your items first. The first thing you must do is create a full backup of your website. A backup includes your WordPress files and your database. Your files include themes, plugins, images, and uploads. The database stores your posts, pages, comments, and settings. If something goes wrong during migration, your backup will save you from losing everything.
If you are not sure how to back up your website, you can check our detailed guide on how to migrate a WordPress site to a new host here:
https://wpsafemigration.com/how-to-migrate-a-wordpress-site-to-a-new-host
It explains the basic preparation steps in more detail.
After creating a backup, collect your login details. You will need access to your current hosting account, your new hosting account, and your WordPress dashboard. You may also need access to your domain registrar where your domain name is managed. Keeping all this information ready will make the process smooth and stress-free.
Next, check the new hosting environment. Make sure the new host supports the latest PHP version and has enough resources for your website. If your current website runs well with a specific PHP version, confirm that the new host supports it. This small check can prevent many problems later.
If possible, create a temporary testing area on the new host. Some hosting companies provide a staging option. A staging site lets you test everything before making your website live. This way, visitors will not see errors while you are setting things up.
It is also a good idea to record your current website’s SEO performance. Take note of your traffic numbers, top pages, and keyword rankings. This helps you compare performance after the migration. You can use tools like Google Search Console and Google Analytics for this purpose. Even writing down your most important pages in a simple list is helpful.
When everything is ready, you can choose how to move your website. There are three main ways to migrate a WordPress site to a new host.
The first way is using a migration plugin. This is the easiest option for beginners. A plugin can package your entire website into one file. Then you upload that file to the new host and restore it. The plugin handles most technical work for you. This method saves time and reduces mistakes.
The second way is manual migration. This method gives you more control but requires more care. You download your website files using FTP or your hosting file manager. Then you export your database from phpMyAdmin. After that, you upload everything to the new host and connect the database by editing the wp-config.php file. This method is useful if your website is large or if you prefer handling each step yourself.
The third option is asking your new hosting provider to migrate the site for you. Many hosting companies offer free migration services. In this case, their support team transfers your website. Even if you choose this option, you should still create your own backup. It is always better to be safe.
No matter which method you choose, the core idea remains the same: back up everything, move files and database, connect them correctly on the new host, and test before going live.
In the next part of this guide, we will walk through the exact step-by-step migration process, explain how to update DNS settings, and show you how to protect your SEO during the move.
After you finish preparing your files and backups, it’s time for the heart of the move – actually bringing your WordPress site to the new hosting home. This part has a few key stages, and what makes it go smoothly is taking one careful step at a time.
First, you want to move all your site’s content over. If you backed up everything in a zip file or with a plugin, now is the time to unzip and upload it to your new host. You can do this using FTP software, the file manager in your hosting control panel, or the same plugin you used to create your backup. Make sure all the folders, themes, and pictures end up in the right place, which is usually the main directory of your WordPress installation.
Next comes your WordPress database, which stores your posts, settings, comments, and other important information. You’ll go into the database tool on your new host, choose the database you created, and import the SQL file from your backup. This puts all your site’s content into the new home exactly as it was.
Once you have your files and database in place, it’s time to make sure the WordPress system knows how to connect everything. This happens in a special file called wp-config.php. Here, you update the database name, username, and password so WordPress can talk to the new database. It may sound tricky, but it’s just like telling your new house where the lights and appliances are plugged in so they work right.
Before you let everyone see your refreshed site, check it quietly behind the scenes. Most hosts give you a temporary address or staging space where you can see the site working on its new server. Look at your homepage, click through a few posts or pages, test your contact forms, and see pictures and buttons load. This helps you catch anything that didn’t move over correctly before the public sees it.
Now it’s time to bring your live website over to the new host. This is done by updating your DNS settings – the technical instructions that tell the internet where your website lives. You log into the service where your domain name is managed and change the nameservers or IP address to the new hosting provider’s details. It may take a little while – usually a few hours up to two days – before this change spreads across the web and your site starts loading from the new host for everyone.
Once the DNS update has taken effect, your website will show up on the new host just like before, but faster and more secure if you chose a good hosting provider. At this point, you can remove the temporary address and deactivate maintenance mode so visitors see the real site.
Update & Protect Your SEO After Migration
Moving your website is not just about files and databases – it also needs to keep its search engine rankings and traffic. If your site disappears from search results or loads broken links, that can hurt your visibility online. To protect this, there are a few things you should do right after your migration.
One important task is checking your internal links. These are the links from one page to another inside your own website. Sometimes when a site moves, a few of these links stop working. You can use a simple search-and-replace tool to find old link paths and fix them so they lead to the correct pages on the new host.
Another helpful step is to set up 301 redirects for any old links that might have changed. A 301 redirect tells search engines that a page has permanently moved somewhere else. This makes sure people and search engines still find the right content even if the address is different. While this may not be needed for every move, it’s essential if you change your domain or URL structure.
It’s also smart to update your sitemap, which is like a roadmap of your website. A sitemap helps search engines find and index your pages efficiently. After you finish migrating, generate a new sitemap that reflects your new hosting location and submit it to tools like Google Search Console. This helps search engines understand your site’s structure quickly and correctly.
Finally, spend some time testing your new site, especially on different devices like phones, tablets, and computers. Try out your menus, search features, and any interactive parts. If something looks off, fix it before search engines crawl it. This kind of testing helps you protect your user experience and SEO performance.
Final Testing and Launch Checklist
Now that your site is live on the new host, here’s a simple checklist to make sure everything works smoothly:
-
Go through your homepage and a few blog posts to see they load correctly.
-
Check images, videos, and buttons to make sure they display and work.
-
Try forms, search boxes, and contact sections to confirm they send information properly.
-
If you use a contact form or newsletter form, test it by submitting a message.
-
Use tools like Google PageSpeed Insights to see if your site loads quickly – a faster site can help your SEO.
After you have finished all these, pause for a moment and celebrate. You’ve successfully moved your WordPress site to a new host without losing data or search ranking.
If you ever want to go deeper into advanced SEO steps after migration or learn about improving your site’s performance, check out our full migration resources here: https://wpsafemigration.com/how-to-migrate-a-wordpress-site-to-a-new-host. This guide has extra tips to help you grow even more.
Frequently Asked Questions (FAQ)
1. How long does it take to migrate a WordPress site to a new host?
The time depends on the size of your website. A small blog with a few pages may take one to two hours. A large website with many images and posts can take several hours. DNS changes may take up to 24–48 hours to fully update around the world. During this time, some visitors may still see the old host while others see the new one.
2. Can I migrate my WordPress site without downtime?
Yes, it is possible to migrate with little or no downtime. The key is to fully set up and test your site on the new host before changing your DNS settings. When everything is ready, you update the DNS. Since your old hosting stays active during the change, visitors can still access your site.
3. Will I lose my SEO rankings after migration?
If the migration is done carefully, you should not lose rankings. Make sure all your pages, links, and images work correctly. Keep the same URLs if possible. If you change URLs, use proper 301 redirects. Also, check Google Search Console after the move to catch any crawl errors quickly.
4. Do I need to cancel my old hosting immediately?
No, do not cancel your old hosting right away. Wait at least a few days after the migration. Make sure your website works perfectly on the new host and that DNS has fully updated. Once you are sure everything is stable, you can safely cancel the old plan.
5. What if I am changing my domain name too?
If you are changing both hosting and domain, the process needs extra care. You must set up 301 redirects from the old domain to the new one. This helps search engines understand that your website has moved permanently. Without redirects, you may lose traffic and rankings.
If you need detailed guidance for domain changes, you can read our step-by-step guide here:
https://wpsafemigration.com/migrate-wordpress-website-to-new-domain
6. Is it better to use a plugin or migrate manually?
For beginners, a migration plugin is usually easier and safer. It handles most of the technical steps for you. Manual migration gives more control but requires careful handling of files and databases. If you are unsure, start with a trusted plugin or ask your hosting provider for help.
7. What should I do if my site shows errors after migration?
First, do not panic. Check your wp-config.php file to make sure database details are correct. Clear your browser cache. Re-save your permalink settings inside the WordPress dashboard. If problems continue, restore your backup and try the process again step by step.
8. Is WordPress migration safe?
Yes, WordPress migration is safe if you create a full backup before starting and follow each step carefully. Think of it like moving valuable items – careful packing and checking prevents damage.