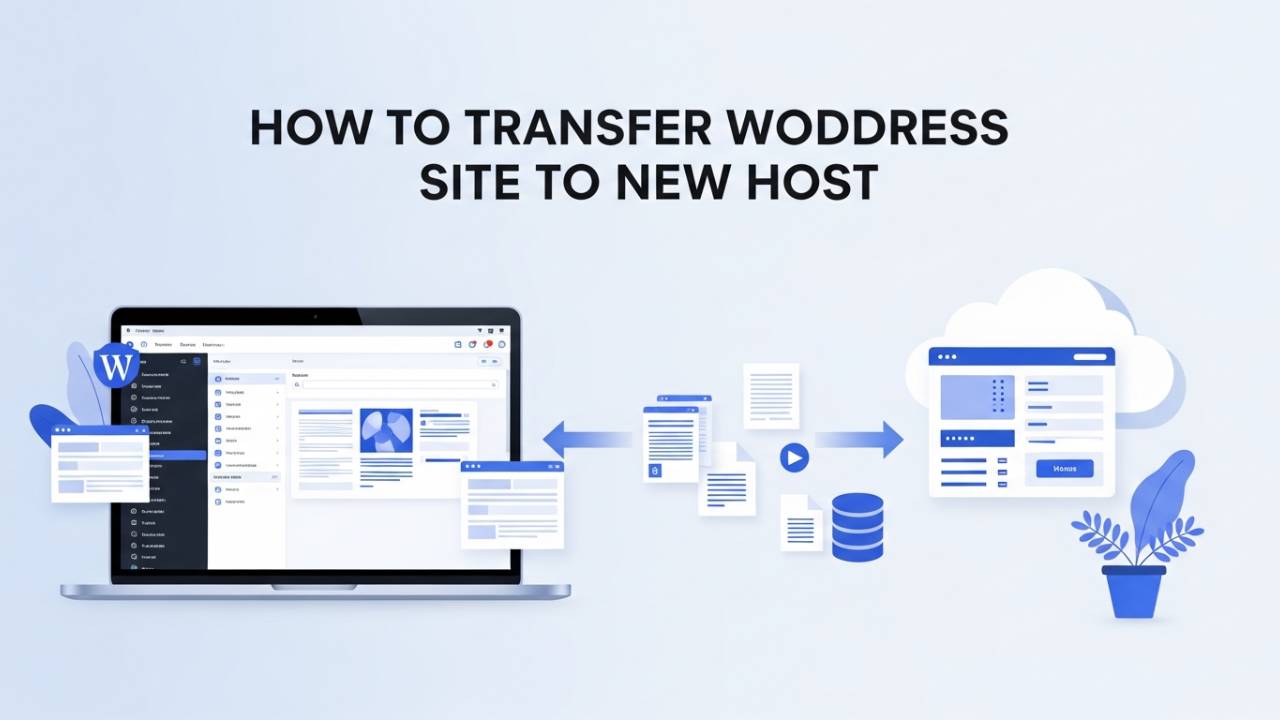
Moving your WordPress website from one web host to another can feel like a big task, but it doesn’t have to be scary. A host is like the home where your website lives. Sometimes you change homes to get better speed, more space, or friendlier support. When you transfer WordPress site to new host, you move everything you’ve built your posts, pictures, pages, and settings so visitors still see your site without losing anything. In this guide, we walk through the most reliable steps that many top tutorials recommend.
Before You Start: Preparation Checklist
Before moving your site, it’s like packing for a trip: you need to be ready. First, make a full backup of your WordPress site. This means saving copies of all your website files and your database, which holds all your content and settings. Backups are your safety net in case something goes wrong.
Next, make sure your WordPress software, themes, and plugins are up to date. Newer versions help things work better when you move. Finally, choose a new hosting service that fits your needs — one with enough space, good speed, and helpful support so your site runs well after the move.
Using a Migration Plugin (Easy Way for Most People)
One of the simplest ways to transfer your WordPress site to a new host is by using a migration plugin. This is a tool you add to your WordPress site that helps copy the whole site and bring it into the new home.
1. Install a Migration Plugin
Log in to your WordPress dashboard, go to Plugins, and click Add New. Search for a migration plugin like All-in-One WP Migration or Duplicator. These tools help wrap up your whole website into one downloadable file that can be moved easily.
2. Export Your Site
Once the plugin is active on your old host, open the tool and choose to export your site. The plugin will create a backup of everything — your pages, pictures, and settings — and let you download it to your computer. Think of this like packing all your things into one suitcase before a move.
3. Import on Your New Host
On your new host, you should already have a fresh WordPress install. Install the same migration plugin here too. Then use its import feature to upload the file you downloaded earlier. This will put all your content and settings back into place on the new host, just like they were before.
4. Check the Site
After importing, log into your new WordPress dashboard and click around your site. Make sure pages open, pictures load, and links work. If anything doesn’t look right, you can use the WordPress Settings → Permalinks page to refresh links so they behave correctly.
Manual Migration (More Control for Advanced Users)
If you prefer to do things yourself without a plugin, there’s another way that feels more hands-on.
First, connect to your old host using an FTP program or file manager and download all the WordPress files. These include your themes, plugins, and uploaded pictures. Then, go into the database tool (often called phpMyAdmin) and export your database. This export holds all your WordPress content and settings.
Next, upload your files to the new host using FTP. Create a new empty database there and use phpMyAdmin again to import the database file you saved. Finally, open the wp-config.php file and update a few lines so WordPress knows the name, username, and password of the new database. This tells your site how to find its content on the new host.
Update DNS and Domain Settings
Once your WordPress files and database are safely on the new host, you must tell the internet where to find your website. This is done by updating the DNS settings for your domain. DNS works like a phone book: it links your website name to the server where your site lives.
To change it, log in to the account where you bought your domain. Look for the section called “DNS” or “Nameservers.” Here you will replace the old host’s IP address or nameservers with the new host’s information. After saving your changes, it can take some time for the update to spread across the internet. This waiting time is called DNS propagation, and it usually takes from a few hours up to 48 hours. While the update is happening, some people may still see the old site, and others may see the new one — this is normal.
Keeping your old hosting active during this stage helps avoid broken pages or lost visitors. This way, everyone eventually sees the new site without problems.
Testing & Troubleshooting After Migration
Once your domain starts pointing to the new host, take time to test your whole website carefully. Walk through every page as if you were a visitor. Check that pictures load, menus work, links go where they should, and forms (like contact forms) send messages correctly. Open a few pages on a phone too, just to make sure the site looks good on different devices.
If you see something that doesn’t look right, don’t worry. Sometimes small issues will pop up after a move. These can often be fixed by clearing your browser cache this makes sure your computer loads the newest version of the site, not an old one saved in memory. If a part of the site still looks broken, you can check settings or ask your new hosting support for help.
SEO Considerations (Keep Search Rankings Safe)
When you move a WordPress site, you want search engines like Google to still find your pages and list them in results. This means you should help them understand that your site has a new host but the same content. One way to help with this is by keeping your permalinks the same after the move. Permalinks are the web addresses for your posts and pages.
If your website address has changed or if you reorganized pages, you can use 301 redirects. These are signals that gently guide visitors and search engines from old addresses to new ones so that people don’t land on empty pages. After everything is live, you can also submit your sitemap — a simple map of your website — to Google via tools like Google Search Console. This helps the search engine find and list all your pages more quickly.
Keeping titles, descriptions, and other important information the same also helps your search rankings stay strong. If you want a reminder on preparing and organizing site content before a big move, check back to the Before You Start: Preparation Checklist section above.
Best Practices to Avoid Downtime
No one wants their site to flicker or disappear while people are trying to visit. To reduce this risk, try to make changes at a time when fewer people are likely to be on your site like late at night or early morning.
Another helpful step before you switch DNS is to preview the site on the new host. Many hosting services give you a temporary web address you can use to see what your site will look like after the move. If everything looks good there, you can be more confident your live site will work smoothly once DNS changes are in effect.
Common Mistakes to Avoid
Even with good planning, a few common mistakes can slow you down or cause problems. One big issue is canceling your old hosting too early. If you close the old host right after the move, and DNS hasn’t fully updated everywhere yet, some visitors may find a blank page or error instead of your site. Let both hosts stay active for at least a couple of days after DNS changes.
Another mistake is skipping site testing before launching it live. Always walk through your pages, click links, and make sure forms send messages. It’s much easier to fix issues before most visitors ever see them.
Finally, don’t assume the cheapest hosting plan will solve all your problems. Some low-cost hosts may not offer strong support during a migration, which can leave you stuck if something goes wrong. Take time to choose a plan that matches your needs.
Conclusion
Moving your WordPress website to a new host is like helping it find a new home. With careful steps from backing up your site and choosing a good host to updating DNS and testing everything — you can make sure your site stays safe, fast, and easy to find. If you’ve followed the steps above and still have questions, consider reading the earlier Migration Plugin or Manual Migration sections again, or explore more tips on our WordPress migration basics page for extra help.