When you decide to give your WordPress blog a new home on a different domain name, it can feel like a big change. Maybe you chose a better name for your brand, or you want your website to look more professional. Whatever the reason, moving your WordPress blog to a new domain means copying all your pages, posts, images, and settings so everything still works the same way – just under a new web address.
Doing this the right way matters. If you skip important steps, your visitors might get broken links, or search engines like Google might forget where your content went. In this guide, you’ll learn how to move your WordPress blog to a new domain safely and keep your traffic and search rankings as strong as possible.
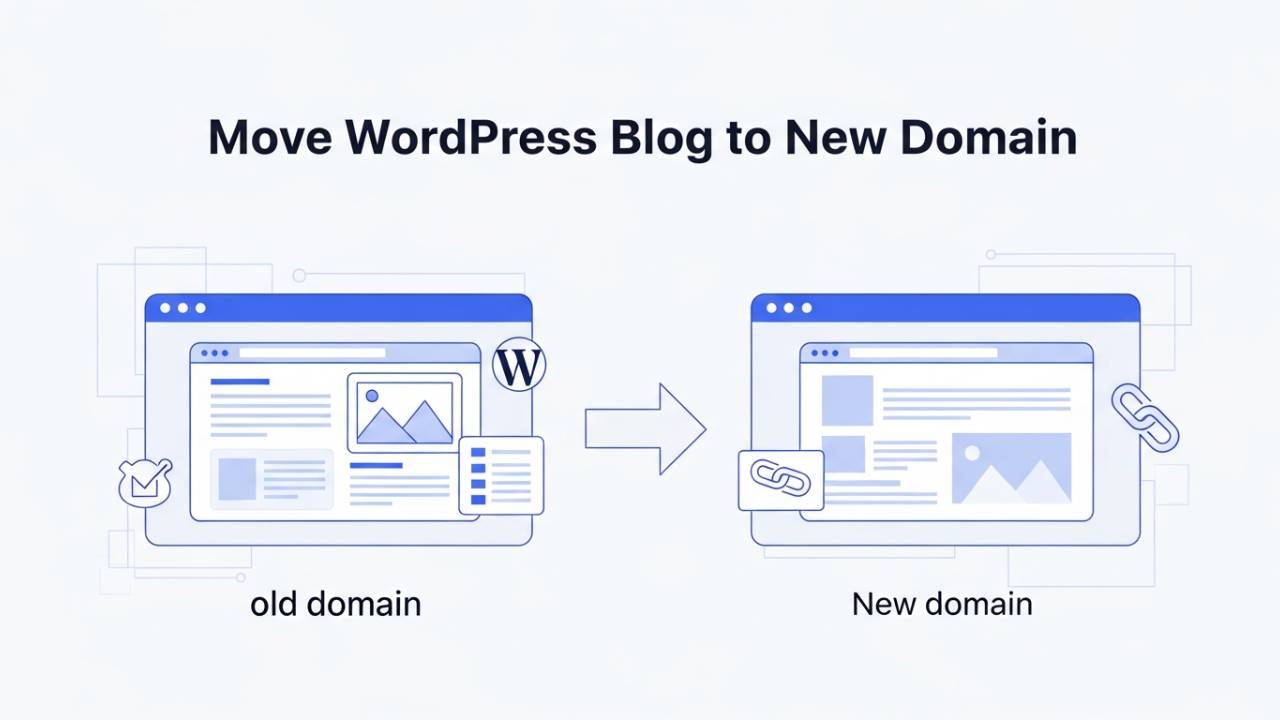
What “Moving WordPress Blog to New Domain” Means
When we say “moving your WordPress blog to a new domain,” we mean changing the website name people type in the browser to reach your blog. Think of it like giving your blog a new street address – the house stays the same, but its location on the web changes. This includes moving your files, the list of your blog posts, pictures, links, and everything else that makes your site yours.
This is different from simply changing your blog’s address inside WordPress settings or switching web hosts (where your site stays on the same domain). Here, you are changing the domain itself. Because of this, you must tell both people and search engines where your blog now lives.
Pre-Migration Checklist (Preparation Before Moving)
Before you begin the move, it helps to prepare a few things so the process is smooth and nothing important gets lost.
Back up your site
The most important step is to make a full copy of your blog. This means saving all your files (themes, pictures, plugins) and your database (which stores your posts, pages, and settings). If you make a mistake later, your backup will let you restore everything just the way it was.
Check your current site’s performance
Look at your traffic numbers and search rankings. This gives you a snapshot of how well your blog is doing now, so you can compare after the move. Tools like Google Analytics or Google Search Console are perfect for this.
Gather your old URLs
Create a list of your most important pages and posts. You will need this list later when you set up redirects, which help send visitors from the old domain to the correct page on the new domain.
Decide whether you are also changing hosting
Sometimes people change their hosting provider while changing the domain name. If you are doing both, it’s good to know that ahead of time – it doesn’t change the steps, but it gives you more work to plan for.
Step-by-Step Migration Process
1. Back Up Your Entire WordPress Site
Start by creating a copy of all your files and your database. This backup is your safety net. If anything goes wrong during the move, you can always go back to this version. You can use tools on your host’s control panel or WordPress backup plugins.
2. Upload Your Files to the New Domain
Once you have your backup, go to your new domain’s hosting account and upload everything there. This places all the WordPress files in the right spot so the site can run under the new domain. Most hosts let you do this with a file manager or an FTP program.
3. Import the Database on the New Domain
Your blog’s content lives in a database – this is where WordPress stores your posts, pages, and settings. After uploading your files, you need to import your old blog’s database into a new database you create for the new domain. Once done, this makes the content show up on the new site.
4. Update the Site URLs in the Database
After importing, your blog still thinks it’s on the old domain. You must update the database so WordPress knows the new domain name. This step makes sure all links and media point to the right place. You can do this manually or with tools that find and replace old URLs with new ones.
Why This Matters – Keeping Your Blog Working
If even one part of your site still points to the old domain, visitors might see error pages instead of your content. This hurts user experience and can make search engines stop showing your site in search results. Carefully updating URLs inside the database fixes this, so everything works as expected on the new domain.
SEO After Moving Your WordPress Blog to a New Domain
Once your blog is live on the new domain and the content looks right, the next big job is making sure search engines and people can still find your pages and that your blog doesn’t lose its hard-earned search rankings. This part matters a lot, because without it, visitors might land on empty pages or not find your content at all.
Set Up 301 Redirects (Tell the Web Where You’ve Moved)
When someone tries to visit a page on your old domain, you want them to be taken straight to the same page on your new domain. To do that, you use something called a 301 redirect. This is like a permanent sign telling browsers and search engines: “This content has moved for good.”
If you don’t redirect the old links, visitors may see “page not found” errors, and Google could stop showing your pages in search results. A simple way to add these redirects is by updating the .htaccess file on your old domain or using a WordPress redirection plugin. Each old URL should point to the new version of that page.
Here’s a tip to make this easier: match each old URL with its new URL exactly instead of sending all old pages to the new homepage. For example, if olddomain.com/about becomes newdomain.com/about, send it to the new about page, not just the homepage. This keeps both users and search engines happy.
Tell Google About the Change (Search Console Update)
After setting up redirects, you should let Google know that your site has a new home. Google offers a tool called Change of Address in Google Search Console. This is like officially telling Google “I’ve moved!” so it can start indexing your new domain instead of the old one.
To use this tool:
-
Add both your old and new domains as properties in Search Console.
-
Go to Settings on the old site’s profile and choose Change of Address.
-
Pick your new domain and follow the steps to submit the update.
Doing this helps Google understand the change faster and makes sure your search rankings move with you.
Update Tools and Sitemap
After telling Google about your new home, update everything that tracks your site’s health:
-
Make sure Google Analytics and other tools are set to track the new domain.
-
Create and submit a new sitemap (a file that tells search engines where all your pages live) in Search Console.
A sitemap helps Google find and index all your pages more quickly. If your blog has many posts or special pages, this step makes sure none of them are missed.
Don’t Turn Off the Old Domain Too Soon
Even if your new blog works perfectly, keep your old domain active for a while. That way, the redirects keep sending people and search engines to the new pages while everyone adjusts to the change. Many experts recommend keeping the redirects in place for at least a year so Google has plenty of time to update its records.
If you shut the old domain too early, visitors might see errors, and Google could lose track of your site’s history.
Post-Migration Tasks (After the Move)
Once the technical steps are done, there are a few things you should check to make sure everything is working smoothly.
Check for Broken Links
Some links inside your blog or from other websites might still point to the old domain. Broken links can make visitors frustrated and confuse search engines. Use link checker tools or plugins to find and fix these links.
Fixing broken links also helps keep your blog looking professional and easy to use.
Update Internal Links Inside Your Blog
Inside your posts and menus, you may have links that still use the old domain address. It’s a good idea to update these so they point directly to the new domain. That way, you don’t rely only on redirects, and visitors get faster access to the page they want.
If you have many posts, tools can help you replace old links in bulk.
Monitor Your Traffic and Rankings
After the move, watch your blog’s traffic and search rankings closely. It’s normal to see small dips at first, but traffic should recover and grow once Google reindexes the new domain. If you notice big drops, check your redirects, sitemap, and Search Console for errors.
By keeping an eye on your analytics, you’ll know when people are finding your content again and which pages might need extra attention.
Common Mistakes to Avoid
Here are some pitfalls that can slow down your success after moving your blog:
-
Forgetting redirects: If you don’t redirect old pages properly, visitors and search engines can’t find your new content.
-
Turning off the old domain too fast: This cuts off the signal that tells search engines where your content moved.
-
Not updating internal links: Old links inside your content can still point to the old domain, confusing both people and bots.
Conclusion
Moving your WordPress blog to a new domain can feel like a big job, but if you follow the right steps, it becomes manageable. After copying your files and updating your database, take time to set up 301 redirects, tell Google about the change in Search Console, update your sitemap, and watch your analytics. These actions help your blog keep its traffic and search presence even after the domain change.
This process might seem detailed, but each step helps your readers and search engines find your new home just as easily – or even easier – than before.