migrate WordPress to new server can sound like a big task, but with a careful plan it becomes something you can do step by step without stress. In this first half of the article, we’ll walk through what it means to move your site, why you might want to do it, and how to prepare for the move so nothing gets lost along the way.
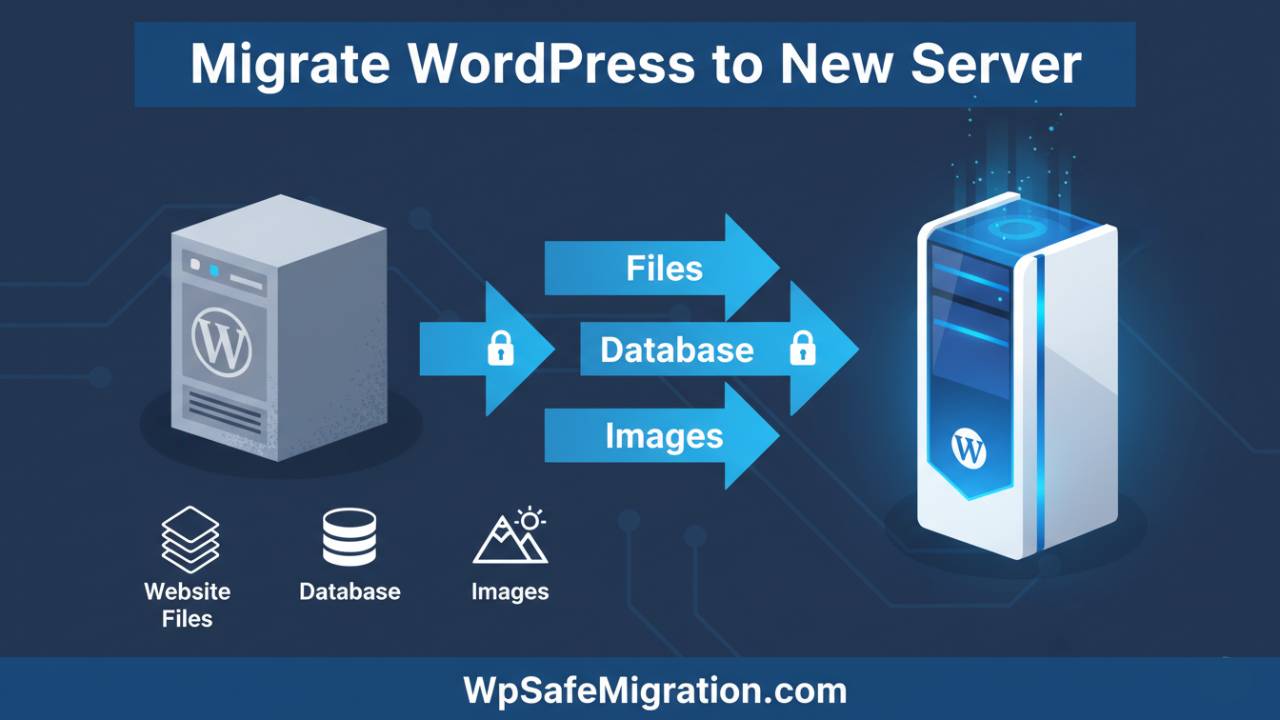
When a WordPress site moves from one home to another on the internet, that process is called migration. It’s like packing up all your furniture and boxes from one house and setting them up safely in a new house. In the case of WordPress, the “furniture” is your files, pictures, themes, plugins, and the “boxes” are your database that holds all your words and settings. People migrate their WordPress site when they want faster loading, better support from their hosting company, or simply better value for money. No matter the reason, the goal is to move everything exactly as it was before so visitors don’t notice anything changed.
Why People Migrate WordPress to a New Server
Most website owners decide to move their WordPress site because the new server offers something better for their needs. A new server might be quicker at loading pages for visitors, handle more traffic without slowing down, or come with stronger safety measures. Sometimes a hosting company provides tools to help manage WordPress more easily. Whatever the reason, the hope is that the new server brings more peace of mind and a smoother experience for site visitors.
Getting Ready Before You Move
Before you touch anything, backing up your WordPress site is the single most important step. Think of this as taking a snapshot of your whole house before moving day. You need a copy of every file, picture, theme, plugin, and the entire database that holds your pages, posts, and settings. If something goes wrong, a backup gives you something to fall back on.
Next, you should make sure you have everything you need on both the old server and the new one. On the new server, make a fresh blank space ready to receive your WordPress site. In most cases, you will also create a brand-new database there. A database is like a big book of all the words and connections in your site. Writing down the database name, user name, and password is important because you’ll need these details later when you tell WordPress where to connect on the new server.
You should also plan a time to do the move when fewer people are visiting your site. This way, if anything slows down for a few minutes, fewer visitors will notice.
Simple Ways to Move Your WordPress Site
There are two main ways to move WordPress to a new server: using a plugin tool, or doing it by hand.
Using a Migration Plugin
A plugin is a small helper program you install inside WordPress. There are many plugins that can make moving a site easier without having to manually copy thousands of files.
For example, All-in-One WP Migration lets you export your site into one tidy file and then import it on the new server. You first install it on your current WordPress dashboard and tell it to export everything. Then on the new server, you install WordPress and the same plugin again, and simply import that file you saved before. After it finishes, your site shows up just like it did before.
Other plugins like Duplicator and UpdraftPlus do similar jobs. Some of these tools work by creating a backup package that includes your files and database together, then rebuilding the site on the new server using that package.
Manual Migration Step-by-Step
If you prefer to do everything yourself without a plugin, the steps are still quite clear and follow a pattern used by many experienced WordPress users. First, copy all your WordPress files from the old server to your computer using a file transfer tool. Then move those files up to the new server in the right folder. After that, export your database on the old server and import it into a fresh database on the new one. Finally, you adjust a small file called wp-config.php on the new server so WordPress knows how to connect to the database you just made.
No matter which method you choose, the idea is the same: make a complete copy of the site, put it onto the new host, and then let everything talk to each other properly again. In the next part of this guide, we will walk through the exact steps you’ll take in order, show you how to avoid downtime, and explain what to do after the migration is finished so your visitors see a smooth transition.
Step-by-Step Walkthrough – How to Migrate WordPress to New Server
Once you have your backups ready and your new hosting space set up, it’s time to move your WordPress site to the new server in the right order. This careful sequence makes sure nothing breaks and that visitors see your site working just like before.
First, move your files and database to the new server. If you used a plugin like All-in-One WP Migration or Duplicator on your old site, you already have a bundle holding everything. On the new server’s WordPress dashboard, install the same plugin and import the bundle you saved. The plugin will place all your pages, pictures, themes, and settings exactly where they belong.
If you chose the manual way, use a file transfer tool to copy all your WordPress folders from the old server into the new one. Then open a tool like phpMyAdmin on the new server and import the database file you exported earlier. Once that’s done, open the wp-config.php file on the new server and update it with the new database name, user name, and password so WordPress can talk to the database properly.
After copying everything, test the site before making it live. A simple trick is to edit the hosts file on your own computer to point your domain to the new server. This lets you see the site as if it were live on the new server, while everybody else still sees the old one. Check the pages, forms, and images to make sure nothing looks broken.
When everything looks right on the new server, it’s time to switch where your domain points on the internet. This is done by updating your domain’s DNS settings to the new server address. Before updating DNS, many guides recommend lowering the DNS “Time To Live” (TTL) value a day or two earlier so the switch spreads faster around the world. With a shorter TTL, most visitors will start seeing the new server sooner instead of waiting many hours for the old address to expire.
Once the DNS update is made, some people will still see the old site for a little while as the internet updates itself around the globe. For that reason, keep both your old and new hosting active side by side for a day or two. With both running, visitors won’t suddenly find a broken site.
How to Prevent Downtime After You Migrate WordPress to New Server
Downtime means your site becomes unreachable even for a short while. Nobody wants that, especially if people use your site for business or learning. With a bit of planning, you can make the move without dropping your site even for a minute.
One helpful idea is to run your new site in a staging area before it goes public. A staging area is just a private copy of your new site on the new server. You and your team can look around without visitors seeing anything until you give the go-ahead. Many hosting providers let you create a staging site with one click, so you don’t have to build it from scratch.
Another tip is to pick a time when few people visit your site – often late night or early morning in your main audience’s time zone. This makes the changeover smoother because fewer people are actively using the site while DNS changes are spreading.
Don’t forget the DNS trick of reducing TTL before the switch. A low TTL means the new site address spreads quickly, and your visitors are routed to the new server within minutes instead of hours.
Post-Migration Tasks After You Migrate WordPress to New Server
Once your site is live on the new server, your work isn’t fully done. There are a few checks and small fixes you should do so everything stays healthy.
Start by logging into your WordPress dashboard and refresh your permalink settings. Permalinks are the links to your pages and posts. Simply going to Settings > Permalinks and clicking “Save” again makes WordPress rebuild its link rules so pages don’t give errors.
Then look at your plugins and themes one by one. Sometimes a plugin behaves differently when the server environment changes. Make sure layouts look right, buttons work, and contact forms send messages.
At this stage, check your SEO settings too. Submitting an updated sitemap to tools like Google Search Console – similar to how you might have done before on your old server – helps search engines know your site is still healthy and trustworthy. Preserving your search rankings should be part of your plan, just like we mentioned earlier in the first half and in our related guides like On-Page SEO Best Practices for WordPress (internal link example).
Keep the old hosting running for at least 24-48 hours after you update DNS, just in case you missed something. If you notice broken links or missing images, you still have a safety net to correct them.
Common Issues When You Migrate WordPress to New Server – And How to Fix Them
Even when you follow the steps carefully, small problems can still show up. Here are a few things to watch for and how you can solve them.
Database connection errors can happen if the database details in wp-config.php don’t match the new server’s settings. Double-checking the name, user, and password usually fixes this.
Broken links or missing images sometimes occur because the old address was stored inside the database. Tools like search-and-replace utilities can help you update those addresses if needed.
Another common hiccup is when a theme or plugin doesn’t behave on the new server. This often happens when server software versions don’t match the old host. Testing plugins and themes on the staging setup before going live can find these issues early.
If something really goes wrong, you still have your backups from the beginning. Going back to a fresh backup lets you retry the move without permanent damage.
Final Thoughts
Knowing how to migrate WordPress to new server is a powerful skill for anyone who runs a website. With careful steps, helpful checks, and smart timing, you can move your site without visitors noticing a thing. Taking the time to prepare, test, and check again makes your WordPress site stronger and ready to grow. If you want help writing the next article in this series – such as “Troubleshooting WordPress Migrations” – just let me know!
Frequently Asked Questions (FAQ)
1. How long does it take to migrate WordPress to a new server?
It usually takes anywhere from 30 minutes to a few hours. The time depends on how big your website is and how fast your internet connection is. Large sites with many images and videos take longer to move. DNS changes can take a few hours to fully spread around the world.
2. Will I lose my SEO rankings after migration?
If you migrate WordPress to new server correctly, you should not lose your rankings. Keep the same domain name, avoid changing URLs, and make sure your site loads properly after the move. Also, submit your sitemap again in Google Search Console and check for crawl errors.
3. Is it better to use a plugin or move manually?
For beginners, using a migration plugin is easier and safer. It reduces the chance of mistakes. Manual migration gives you more control but requires careful handling of files and the database. If you are not comfortable working with server files, a plugin is the better choice.
4. Will my website have downtime during migration?
Not necessarily. If you lower your DNS TTL before switching and keep both servers active for 24–48 hours, most visitors won’t notice any downtime. Testing the new server before updating DNS also helps avoid problems.
5. What is the most important step before migration?
Creating a full backup of your website. This includes both your files and your database. A backup is your safety net. If anything goes wrong, you can restore your site quickly.
6. Do I need to reinstall WordPress on the new server?
If you are using a plugin, you usually install a fresh WordPress copy on the new server first, then import your site. For manual migration, you upload your existing WordPress files and connect them to a new database.
7. What should I check after migration?
After you migrate WordPress to new server, check:
- Homepage and important pages
- Contact forms
- Images and media
- Permalinks (resave them)
- Plugin functionality
- Site speed
Doing these checks ensures everything works smoothly.