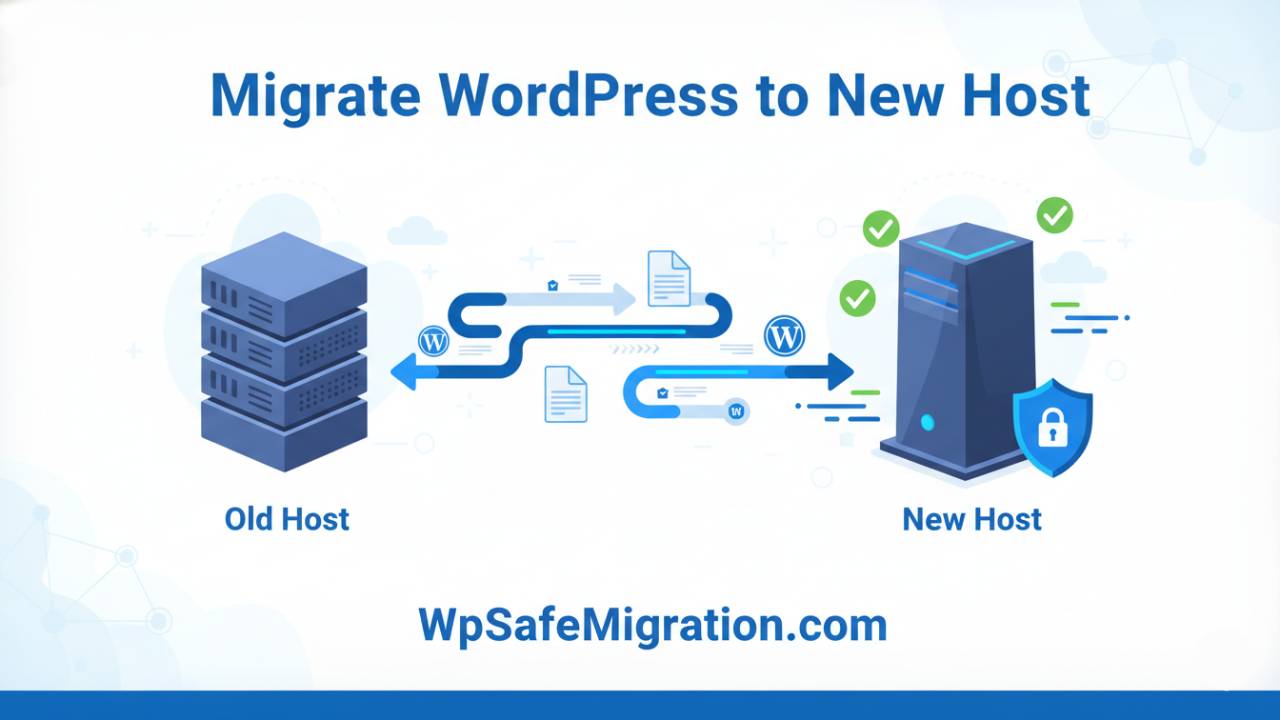
migrate WordPress to new host can seem like a big task the first time you try it, but it really is just a series of clear steps that move your website safely from one hosting company to another. Whether your site is small or big, if you plan ahead and follow a simple routine, the transition can be smooth and worry-free. In this article, you’ll learn what this process looks like from start to finish, in plain and easy language that even a young student could follow.
Why People Move Their WordPress Website to a New Host
Often, people switch hosting providers because they want their site to load faster, cost less money, or get better support when things go wrong. Sometimes the old host doesn’t provide enough server space or tools, and the site starts running slow or having errors. When the hosting starts holding your site back, moving to a better one can make your pages load quicker and keep visitors happy.
Before starting, it helps to think about what you want in your new hosting – like more storage, faster speed, or free daily backups. This preparation sets you up for success.
First Things First: Preparing Your Site
Before you begin the actual moving process, you need to take time to prepare your WordPress site. The most important thing here is to make a full backup. This means you save a copy of every part of your website – the files, pictures, themes, and the database (which holds all your posts and settings). Having this backup gives you a safety net in case anything goes wrong while moving.
Along with saving your site files, it’s smart to write down your current login details, hosting control panel access, and your new hosting information so you won’t need to look for them later.
Method 1: Moving Your Website Step-by-Step Manually
One reliable way to move your WordPress site is to do it manually. This is a bit like packing your belongings when you move to a new home – you take everything, bring it to the new place, and set it up again there. Here’s how that looks in simple steps:
-
Download Your Website Files:
Log in to your old hosting control panel and use tools like File Manager or an FTP program to download all WordPress files. These include yourwp-contentfolder where your themes, plugins, and uploads are stored. -
Save Your Database:
The database is where WordPress keeps all your posts, pages, and settings. Using a tool called phpMyAdmin, you can export the database into a file. This file will move everything your site has ever published. -
Set Up the New Database:
On your new host, create a new database and a user with a password. You will use these details later, so keep them somewhere safe. -
Upload Your Files and Database:
After creating the new database, upload your site files to the new host using an FTP program. Then use phpMyAdmin to import the database file you downloaded earlier so that your content appears on the new server. -
Configure WordPress to Use the New Database:
Open thewp-config.phpfile in your WordPress files and update it with the new database name, username, and password you just created. This tells your WordPress site which database to use on the new host.
Doing these steps carefully helps your website stay exactly the same, but now it lives on a new hosting provider.
Method 2: Using a Plugin to Help Migrate
If you don’t want to do the hard work of downloading and uploading files yourself, you can choose a plugin that does this for you. Plugins are add-ons that sit inside your WordPress dashboard and make tasks much easier.
One popular example is the All-in-One WP Migration plugin. With this tool, you install the plugin on your current site, create a complete site backup inside WordPress, and then install the same plugin on your new host to upload the backup. This method moves both files and the database without you needing to touch complex control panels.
Another well-known plugin is Duplicator, which creates a package of your site and lets you install it on the new host with just a few clicks. Many professionals like Duplicator because it handles both small and large sites.
Switching Your Domain to the New Host
Once your files and database are uploaded to the new host, your site is almost ready to go live. The last big step before users can see it on the internet is updating your DNS settings. DNS settings tell the world where your website lives, like changing your home address when you move. Before you switch the address, it’s a good idea to lower the DNS cache time (called TTL) at your old host. This helps internet systems update your site location faster so people don’t see the old host for hours or days after the move.
After you set TTL lower, you replace the old address with the new host’s address. This change can take some time to spread across the internet, but lowering TTL speeds that up. While the change spreads, some people might see the old site and some might see the new one – but this phase is usually short.
What to Do After Migration: DNS and Testing
Once your DNS update begins, you should check how your site appears on the new host before announcing it to everyone. Many hosts allow a temporary domain or a hosts file trick so you can see your site on the new host without waiting for DNS to finish spreading. This preview lets you click around your pages, check contact forms, test your menu, and make sure images show up correctly.
If you encounter issues, fixing them before the public switch makes everything much smoother. For example, if links are broken or pages show errors, you can still correct these problems before the majority of visitors return to your site.
Fixing Common Problems After You Migrate WordPress to New Host
Moving your site doesn’t always go perfectly the first time. There are a few issues that many people see after migration, but they are usually simple to fix.
Broken Permalinks and 404 Errors
One frequent problem is that all the links to your pages and posts start showing 404 errors – pages that say “Not Found.” This usually happens because the site didn’t refresh its link settings after moving. WordPress uses something called permalinks to make your page links. When these links don’t update correctly, visitors can’t reach your posts.
To fix this, you can go to the WordPress dashboard, choose Settings → Permalinks, and click Save Changes. You don’t need to change anything else – simply saving makes WordPress refresh how links work. If the links still don’t work, you may need to regenerate the special file that tells WordPress how to handle your links (often the .htaccess file).
Updating URLs in Your Database
After moving, your site might still have old links saved inside the database. These could be links to images, buttons, menus, or embedded videos that still point to the old host. Using a search-and-replace tool, you can update all the old address parts with your new site address so everything points in the right place. This makes sure visitors don’t see broken links or old pictures that don’t load.
Fixing Plugin and Theme Issues
Themes and plugins are extra tools that make your WordPress site look and behave the way you want. After migration, some plugins or themes might not work correctly because of differences in server settings between old and new host. If things look strange or features aren’t working, you can try turning off all plugins and then turning them back on one by one. This helps you find which one might be causing the problem.
Sometimes switching to a basic theme temporarily can also help you see if the problem comes from your main theme. Once you identify the issue, you can update or replace the offending plugin or theme.
Clearing Cache and Viewing the Latest Site
Many websites use systems that remember old versions of your pages to speed up loading. After migration, these saved versions might show old content or links instead of your updated site. Clearing the cache in your WordPress caching plugin, server control panel, and even your web browser helps make sure you’re looking at the newest version of your site after the move.
SEO Care After You Move Your Site
When you migrate your site, you want search engines like Google to keep showing your pages in search results. A few steps help protect and improve your search visibility:
- Update Your Sitemap:
A sitemap lists all your important pages. Submitting an updated sitemap to search console tools tells search engines exactly where everything lives now. - Check Internal Links and Bread Crumbs:
Look through your most popular posts and pages. Make sure their links point to the correct places on your new host. - 301 Redirects for Old URLs:
If you changed the way your URLs look, it’s helpful to create permanent redirects – a way of telling search engines and visitors that “this old address has moved here.” This keeps your search traffic from dropping.
Taking these steps helps your site stay friendly to both visitors and search engines.
Final Words: Your Site Is Ready to Shine
After you migrate WordPress to new host, check every part of your site carefully. Test your links, fix anything broken, clear old cached pages, and make sure search engines know where your content now lives. With a careful look at these steps and some patience, your site will work just as well on the new host as it did before – and often much better.
Frequently Asked Questions (FAQ)
1. Is it hard to migrate WordPress to new host?
No, it is not very hard if you follow the steps carefully. You just need to back up your files and database, upload them to the new host, and update your domain settings. If you feel unsure, you can also use a migration plugin to make the process easier.
2. Will I lose my content when I migrate WordPress to new host?
You should not lose anything if you create a full backup before starting. A proper backup saves your posts, pages, images, themes, and plugins. If something goes wrong, you can restore your site using that backup.
3. How long does WordPress migration take?
It depends on your website size. Small websites can move within 30 minutes to 1 hour. Larger websites with many images or videos may take a few hours. DNS changes may take up to 24 hours to fully update worldwide.
4. Will my website go down during migration?
If you plan carefully, your site may have little to no downtime. Many people prepare the new host first and only switch DNS when everything is ready. This keeps your website available to visitors during most of the move.
5. Do I need technical knowledge to move my WordPress site?
Basic knowledge helps, but it is not always required. Many hosting companies offer free migration services. You can also use plugins like Duplicator or All-in-One WP Migration to avoid manual steps.
6. Does migration affect my SEO rankings?
Migration does not hurt SEO if you keep the same domain and URL structure. After moving, check your sitemap, internal links, and search console to make sure everything works properly. If URLs change, set up proper redirects.
7. What is the safest way to migrate WordPress to new host?
The safest way is:
- Take a complete backup.
- Test the site on the new host before switching DNS.
- Only cancel the old hosting after confirming everything works perfectly.
8. Can I migrate WordPress to new host without changing my domain?
Yes, you can. Most migrations keep the same domain name. You only change where the domain points (the hosting server). Visitors will still type the same website address.