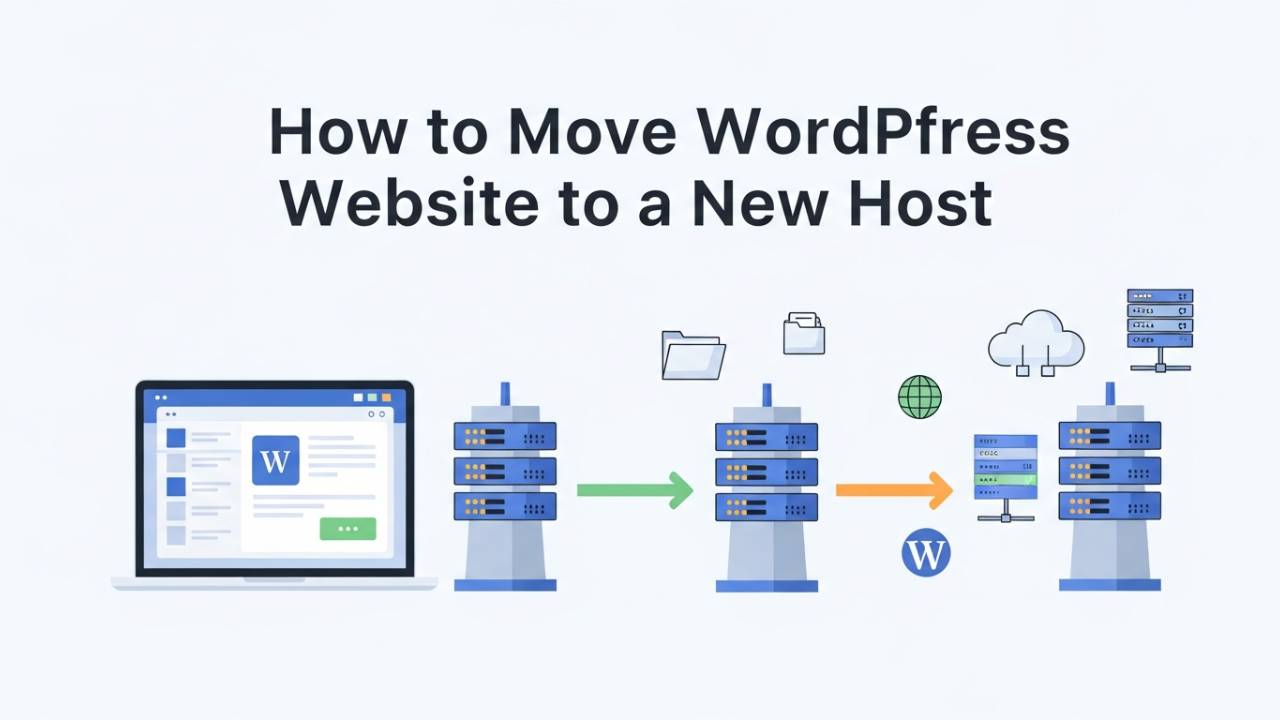
Moving a WordPress website from one host to another can feel confusing if you’ve never done it before. But when you break it into small steps, it becomes much easier. In this guide, you will learn how to take everything from your old hosting provider and set it up on a new one without losing your pages, pictures, or settings.
Why You Might Want to Move Your Website
There are many reasons people move their WordPress sites. Maybe your old host was too slow, or the price went up. Maybe you want better support or more space. Whatever the reason, moving your website means copying all your files and data, then pointing your domain to the new host so visitors see your site from the new server.
What You Should Do Before You Start
Before you begin the move, you need to be prepared. The first and most important step is to make a complete backup of your website. This means saving every file, picture, plugin, and your database. This backup is your safety net — if anything goes wrong, you can still recover your site.
Here is what you should have ready:
-
Login access to your current WordPress dashboard
-
Backup of all site files and database
-
Login access to your new hosting account
-
Knowledge of your domain settings
Taking time here can prevent problems later.
Easy Way to Move Your WordPress Website (Using a Plugin)
One of the simplest ways to move your site is by using a special tool called a migration plugin. These plugins take care of much of the work for you.
-
Install the Plugin on Your Old Site
Go to your WordPress dashboard and add a new plugin. Search for a migration tool like All-in-One WP Migration or Duplicator. Click install, then activate the plugin. -
Create an Export File
Inside the plugin, choose the option to export your website. This will bundle all your files and database into one downloadable package. Save it to your computer when it’s done. -
Prepare Your New Host
Open your new hosting account and set up WordPress there fresh. You don’t need any content yet — just a blank WordPress installation. Many hosts let you install WordPress in a few clicks. -
Install the Same Plugin on the New Site
Just like before, install and activate the same migration plugin on your new WordPress site. -
Import the Exported File
Use the plugin’s import feature and upload the file you saved earlier. The plugin will take time to put everything in place — just wait until it finishes.
Once the import is done, your site should look and work the same as it did on your old host.
Manual Way to Move WordPress (Without a Plugin)
If you want to learn how things work under the hood, you can move your site step by step without a plugin. This takes a bit more care, but some people prefer it.
-
Save Your Files and Database
Use a tool like phpMyAdmin to export your database. Then use an FTP program to download all your site files. These files are all the WordPress folders like themes, plugins, and uploads. -
Create a New Database on Your New Host
In your new hosting dashboard, make a new database and user. Write down the database name, username, and password — you will need them soon. -
Upload Your Files to the New Host
Connect to your new hosting with FTP and upload all your WordPress files into the folder where your site will live. This folder is usually called “public_html” or “www”. -
Import Your Database
Open phpMyAdmin on your new host, choose the database you created, and import the database file you exported earlier. -
Update Your wp-config File
Open the file named wp-config.php in a text editor. Change the old database name, username, and password to match the new ones you just made. This tells WordPress how to connect to the new database.
Once this is done, your WordPress site should be ready to run from the new host.
Getting Your Domain to Point to the New Host
After moving your files and database, the last big step is telling the internet to send visitors to the new host instead of the old one. This is done by updating your DNS settings at your domain registrar.
Your domain registrar is where you bought your domain name. You will find settings for the nameservers or DNS records there. Change those to the new host’s nameservers. It can take up to 48 hours for this change to spread around the world.
Post-Migration Steps: What to Do After You’ve Moved
Once you’ve moved your files and pointed your domain to the new host, your work isn’t quite finished yet. There are a few important checks you should make to be sure your site really works just like it did before.
First, login to your WordPress dashboard on the new host and check that everything looks right. Try clicking on different pages, open a few posts, and make sure pictures load and menus work. You can also use your host’s file manager or FTP to compare your old file list with the new one. If anything is missing, you can upload it again manually.
After that, go to Settings → Permalinks in WordPress and click Save Changes. This step refreshes the way your links work so pages don’t break after the move. Sometimes the link structure gets confused during migration, and this refresh helps fix it automatically.
It’s also a good idea to walk through your entire site and click on every type of content — images, blog posts, contact forms, and buttons. If you spot something not working, this is your chance to fix it before visitors come back.
Updating Your Domain and DNS Settings
Before people can see your site on the new host, the internet needs to know to send visitors there. This happens through updating your domain name settings (also called DNS). Your DNS settings live at the place where you bought your domain name, such as the company where you registered “yourwebsite.com.”
To update this, log in to your domain account, find the place that lists nameservers or DNS records, and replace the old host’s nameservers with the ones given to you by the new host. This tells the internet, “Look here for this website now.”
Once you save the new DNS settings, it can take a little time — usually up to 48 hours — for everything to update everywhere in the world. During this time, some people might still see the old site until the change fully spreads.
How to Test Your Site Before DNS Finishes Updating
There’s a trick that lets only you see the new site before the DNS change finishes for everyone. Your computer has a tiny file called the “hosts file” that can be edited to tell your browser to go to your new host’s address. This doesn’t change anything for the world — only your computer will follow the rule.
By doing this, you can click around the new site and be confident everything is ready before the world arrives. When you’re satisfied, you can remove that trick and let the normal DNS updates take over.
Common Problems You Might Run Into
Even when you follow every step, a few issues can pop up after a move. But most of these have simple fixes:
-
Some pages don’t look right – Try re-saving the permalinks again in the dashboard, or check that all files and folders were actually transferred.
-
Images aren’t showing – This usually means some image files didn’t get moved into the correct folder. Use FTP or file manager to check.
-
Links send you to the old site – This can happen if the site URLs weren’t updated properly after the move. A plugin or tool can search and replace old addresses in your database if needed.
-
It looks broken before DNS finishes – Wait a bit and refresh. If you edited your hosts file earlier, remove that rule and try again.
Keeping an Eye on Your Site After Migration
After everything is settled and visitors are seeing your new host, take some time to watch how your site performs. You might notice small changes in speed or how quickly pages load. Most hosts offer built-in tools or simple plugins that help you check performance and catch broken links.
If you use tools like Google Search Console or Google Analytics, keep an eye on your site traffic and search results. A small dip right after a move is normal, but if things stay lower for a long time, you might need to check your SEO settings or contact your host for help.
Wrapping Up
Moving your WordPress website to a new host doesn’t have to be scary. By taking it step by step and checking carefully once the site is on the new host, you can make sure your content stays safe and your visitors keep coming back. Good luck with your migration journey!
Final Thoughts: Moving Your WordPress Site the Right Way
Moving a WordPress website to a new host may sound like a big job at first, but when you follow clear steps, it becomes very manageable. The key is patience. When you back up your site, move everything carefully, and check your work after the move, you protect your content and your visitors’ experience.
Many website owners rush the process and end up with broken pages or missing images. You avoided that by taking time to prepare, test, and review everything. Whether you used a plugin or moved things by hand, the goal is the same: keep your website running smoothly without confusing your visitors.
If you plan to move again in the future, save this guide or bookmark it. You may also find this related guide helpful:
👉 Move WordPress Site to New Host
https://wpsafemigration.com/move-wordpress-site-to-new-host/
A careful move today can save hours of stress tomorrow.
WordPress Migration Checklist (After Moving to a New Host)
Use this checklist once your site is live on the new host. It helps you catch small issues before they turn into big problems.
✅ Website Check
-
Open your homepage and main pages
-
Click menus, buttons, and links
-
Check blog posts and images
-
Test contact forms and login pages
✅ WordPress Settings
-
Go to Settings → Permalinks and click Save Changes
-
Check site title and homepage settings
-
Make sure your site URL is correct
✅ Plugins & Themes
-
Activate all required plugins
-
Test important plugins one by one
-
Check that your theme displays correctly
✅ Speed & Security
-
Turn on caching (if your host provides it)
-
Re-enable security plugins
-
Remove old backups from the server
✅ Domain & Visibility
-
Confirm DNS points to the new host
-
Visit your site from a different device
-
Check that the old host no longer serves the site
✅ SEO & Tracking
-
Open Google Search Console
-
Check for crawl or indexing errors
-
Watch traffic for a few days
Frequently Asked Questions (FAQ)
Can I move my WordPress website without losing any data?
Yes, you can. If you make a full backup before starting and follow each step carefully, your posts, pages, images, and settings will stay safe. Think of the backup as a safety copy of your entire website. If something goes wrong, you can always restore it.
Will my website go offline during the move?
In most cases, visitors will not notice anything. Your old website stays live until the new one is ready. When you change the domain settings, some people may still see the old site for a short time, while others see the new one. This is normal and usually settles within one or two days.
How long does it take to move a WordPress website to a new host?
The actual moving process can take anywhere from 30 minutes to a few hours, depending on your site size. The domain update part can take up to 48 hours to fully update across the internet, but you don’t need to work during that time.
Do I need technical skills to move a WordPress site?
Not really. If you use a migration plugin, the process is mostly clicking buttons and following instructions. The manual method needs more attention, but even that can be done by beginners if they move slowly and double-check each step.
Is it better to use a plugin or move the site manually?
For most people, using a plugin is the easiest and safest option. Manual migration is useful if you want full control or if your site is very large. Both methods work well when done correctly.
Will moving my site affect my Google rankings?
If your domain name stays the same, your rankings usually remain stable. Problems only happen when pages break or links stop working. That’s why checking your site after the move is important. You can also review our guide on
how to move WordPress site to new host safely
👉 https://wpsafemigration.com/how-to-move-wordpress-site-to-new-host